
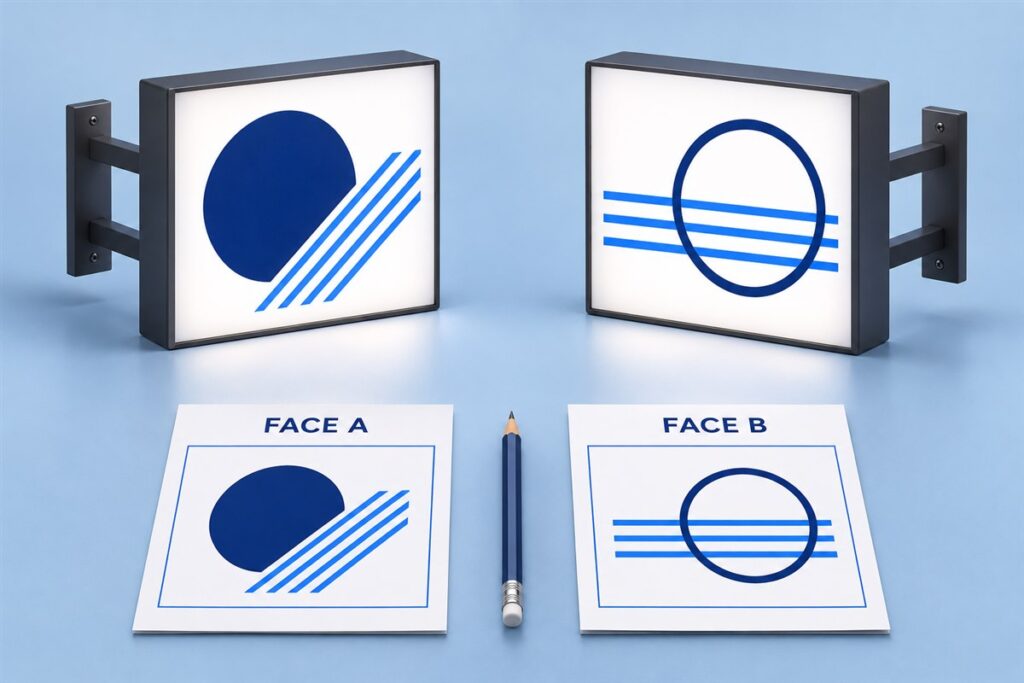
“The same logo on both sides” leaves an important question unanswered: which artwork belongs to each face when the light box is in its intended position? A proof can look correct on a laptop while its face label, arrow or site reference remains ambiguous. Approve the relationship between each visible face and its real viewing direction before treating the artwork as settled.
For this type of business signage, our LED light box signs provide a starting point for discussing the proposed face arrangement. Confirm whether the specific order will use a double-sided configuration. The worksheet below is a suggested buyer review method, not a promise that a particular proof service or construction is included.
Define Face A and Face B on a site reference
Start with a labelled photograph or simple plan showing where the sign is intended to sit. Mark the two faces and the approach associated with each one. Use fixed landmarks to describe the viewpoint. “Looking toward the entrance from the corridor lifts” is more useful than “the left side,” which can change meaning when someone turns around.
Put one agreed sign ID on the site reference and both proofs. On the labelled cabinet view, ask which edge is the top and which is toward the wall. Keep these references visible when comparing the two readable views.
Ask the manufacturer to use the same face labels on the proposed cabinet reference and the artwork proofs. If the relationship between those views is unclear, request a labelled explanation. Do not fill the gap by guessing how a screen image would rotate onto the opposite side.
This review concerns face identity and message assignment. For the broader questions of viewing positions, cabinet projection and access, use our separate double-sided blade light box planning guide.
Request a normal-reading approval proof for each face
Review each face as a viewer would read it from its assigned approach. Keep the face ID, site reference and artwork revision visible together in the approval record. A combined presentation can be helpful, but it should still identify two separate viewer-facing views.
A viewer-facing approval proof is different from a production file. Printing, cutting or assembly may require the fabricator to prepare files in a particular way. Do not mirror or rotate Face A yourself to create Face B unless the fabricator has explicitly defined that file requirement. Ask them to distinguish the readable approval view from any production transformation, so you can approve the intended appearance without prescribing an unsuitable manufacturing instruction.
Complete a two-face artwork worksheet
Copy this table for the proposed sign. Enter actual file names and site references rather than relying on thumbnails. Use “pending” where information has not been confirmed; an empty cell should not be read as approval.
| Record to complete | Face A | Face B |
|---|---|---|
| Approach and fixed landmark | Enter the viewer’s approach | Enter the other approach |
| Site photo or plan reference | Enter labelled reference and revision | Enter labelled reference and revision |
| Normal-reading proof | Enter proof file and revision | Enter proof file and revision |
| Approved content reference | Enter logo and wording reference | Enter logo and wording reference |
| Arrow or directional message | Enter destination and site confirmation, or none | Enter destination and site confirmation, or none |
| Face-to-cabinet mapping | Enter the labelled cabinet reference | Enter the same coordinated reference |
| Approver and status | Enter name, date and approved or pending | Enter name, date and approved or pending |
Check arrows from the viewer’s position
If a face includes an arrow, have someone who knows the location confirm what it means from that approach. A symbol that points toward the intended entrance in one view cannot be assumed to communicate the correct direction from the other. The required result is a clear instruction for that viewer, not visual symmetry between two files.
For example, a fictional corridor sign might be approached from the lifts on one side and a junction on the other. Those are two different reference positions. Record the destination intended for each face and ask the site reviewer to confirm it against the labelled plan. This example does not establish an arrow direction for your location.
Identical content still needs two face records
Both faces may carry the same logo and wording. They can point to the same approved artwork reference while retaining separate face IDs and viewing references. This makes “identical artwork” an explicit decision rather than an assumption about an unreviewed second face.
If the faces differ, state the difference precisely: a different line of information, an omitted arrow or another approved layout. Avoid instructions such as “reverse the other side,” which could mean reverse the face assignment, mirror the text or change the direction of an arrow.
Send one coordinated approval request
Before confirming the face artwork, ask: are both viewer-facing proofs readable, assigned to the correct labelled faces and linked to the intended content files? If a face, site reference or directional message remains uncertain, keep that item pending. After a change affecting the mapping, review the affected face and confirm that the paired record still agrees.
Send HLW SIGN your two approach photographs, labelled sign position and artwork references to discuss the proposed light box. State which items still need clarification. For other design and order questions, browse the buyer resources.