
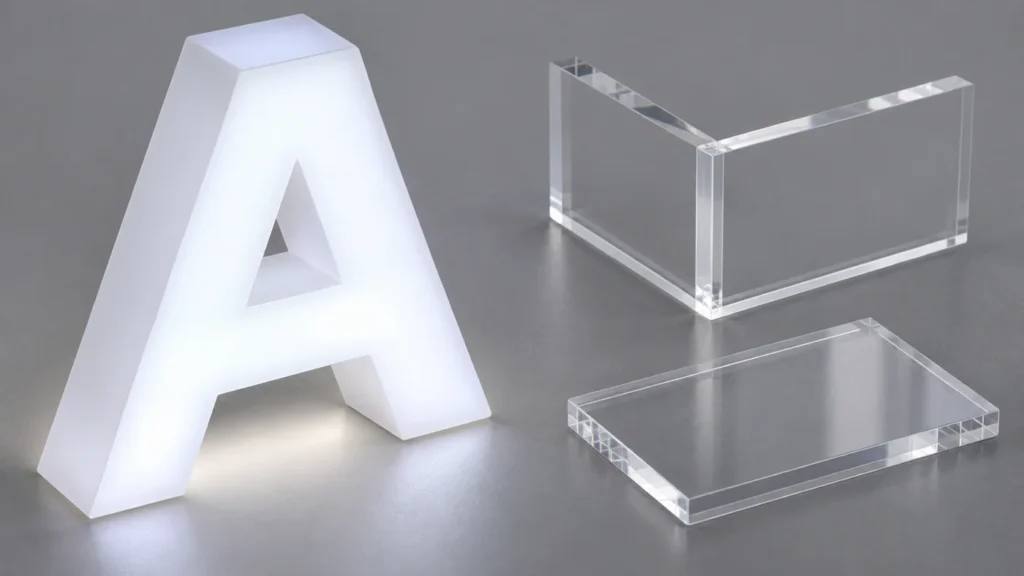
Acrylic bonding quality is easiest to discuss before a large order begins. A joint that looks acceptable in a photograph may become conspicuous when a sign is illuminated, viewed from the side or placed against a dark wall. Buyers do not need to select an adhesive themselves, but they should know what evidence to request and how the approved joint will be judged.
Identify the joint you are approving
Ask the fabricator to show where bonding is used and what the joint must do. A decorative face-to-return connection, a backing panel and a light-management component can present different demands. Mark visible and concealed areas on the drawing. Confirm the acrylic grade, thickness and any coatings or printed surfaces that interact with the process. “Acrylic glue” is not a complete material specification.
The manufacturer’s ACRYLITE cementing guidance provides material-specific procedures and troubleshooting. It is a useful reminder that compatibility, preparation and process conditions matter. For acrylic LED letters, the approval should consider the assembled illuminated product, not simply a strong-looking joint on an unrelated piece of transparent sheet.
Request a representative bonded sample
The sample should use the proposed materials and a joint geometry that reflects the actual product. If a narrow return or a highly visible edge is important, include it. A simple flat coupon may establish an initial process, but it may not reveal alignment or light leakage issues in the final construction. Record what the sample represents and which later changes would require another approval.
| Check | Question for the sample review |
|---|---|
| Alignment | Are faces, returns and corners positioned as drawn? |
| Joint appearance | Are visible gaps, bubbles or excess material within agreed limits? |
| Surface condition | Are scratches, haze or stress-related defects visible? |
| Lighting | Does illumination reveal unwanted shadows or light escape? |
| Process record | Are material and curing requirements identified? |
| Acceptance | Are lighting, distance and viewing angles defined? |
Inspect with both the sign off and on
A daylight inspection reveals the physical workmanship. Look across the joint, inspect corners and compare the overall shape with the approved drawing. Then repeat the review with the intended lighting. Bright backgrounds can conceal some defects, while a lit edge can emphasize others. Take photographs at consistent exposure and distance so later production images can be compared with the approved reference.
Do not interpret this as a demand for invisible joints in every construction. Some joints and fasteners are expected features. The useful question is whether their location and appearance match the agreed design. If a seam must be hidden from a particular customer-facing angle, record that angle explicitly rather than relying on the phrase “high quality.”
Separate immediate appearance from process completion
A newly assembled sample may not yet be ready for every handling or service condition. Ask the fabricator to identify the specified curing and handling stages and how they are controlled. ACRYLITE’s polymerizable cement information discusses process considerations including compatibility and crazing. Follow the relevant material and adhesive guidance; a generic waiting period from another sign is not a reliable substitute.
Cleaning and protective-film removal also belong in the handover discussion. An incompatible cleaner or an improvised installation treatment can change an otherwise approved surface. Request maintenance instructions for the actual materials. If the site needs a particular cleaning product, raise that requirement before production rather than testing it on finished signage.
Make production approval traceable
Link the sample reference to the drawing revision and order. Ask for production photographs that show the same details: overall alignment, representative corners and an illuminated view. For trimless channel letters, review face fit and edge appearance as well as bonding. For LED light box signs, include the visible panel and lighting arrangement that will be supplied.
If the design changes after sampling, identify whether the change affects the joint. A new acrylic thickness, tighter radius or different printed treatment may deserve a new review. This is more efficient than discovering at delivery that the approved sample and the manufactured product were based on different assumptions.
Frequently asked questions
Should the buyer choose the adhesive?
The fabricator should specify a compatible process for the construction. The buyer should explain service conditions and appearance requirements and ask for the supporting fabrication guidance.
Does a clear joint prove the sign is suitable outdoors?
No. Outdoor suitability involves the complete assembly, materials, sealing, electrical components and mounting. Joint appearance is one inspection item, not an environmental rating.
Can a production photo replace the sample?
It can document consistency, but it may hide depth, texture and viewing-angle differences. Decide in advance when a physical sample is needed.
For project-specific advice, share your acrylic sign design with HLW Sign and identify the edges and lighting effects that matter most.